
My Quest for the Perfect Router
I’ve always been a tinkerer. I love taking things apart, figuring out how they work, and putting them back together with a few improvements. So, when my off-the-shelf router started to feel a bit… limiting, I knew it was time for a change. I wanted more control, more features, and more performance. That’s when I stumbled upon OpenWRT and the idea of building my own router using a Raspberry Pi.
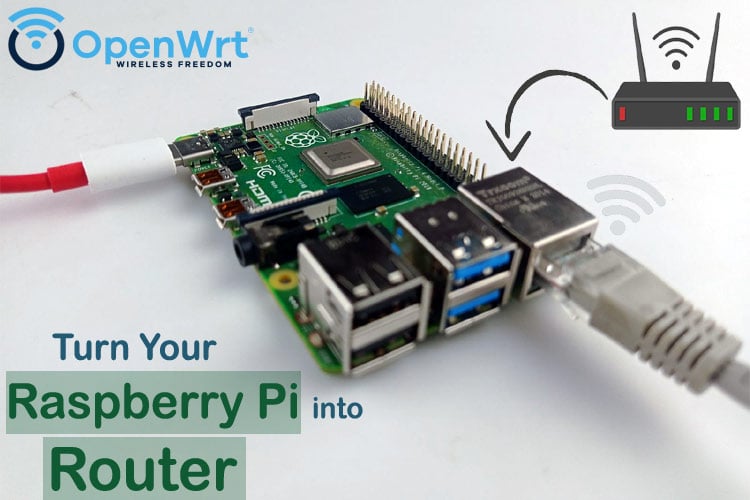
What is OpenWRT?
For the uninitiated, OpenWRT is a Linux-based open-source firmware for embedded devices, like your home router. It’s like replacing the stock operating system on your router with a much more powerful and flexible one. With OpenWRT, you can do things that are simply not possible with most consumer routers, like:
- Advanced QoS (Quality of Service): Prioritize traffic for gaming or video conferencing.
- VPN Client/Server: Turn your router into a VPN gateway for your entire network.
- Ad-blocking: Block ads at the network level for all your devices.
- Detailed Monitoring: Get deep insights into your network traffic.
- And much, much more…
Why a Raspberry Pi?
The Raspberry Pi is a tiny, affordable, and surprisingly powerful single-board computer. While it’s not designed to be a router out of the box, its flexibility and low power consumption make it an ideal candidate for a DIY router project. Plus, the satisfaction of building your own high-performance router for a fraction of the cost of a commercial one is hard to beat.
My OpenWRT Adventure
The process of getting OpenWRT up and running on my Raspberry Pi 4 was both challenging and rewarding. I won’t lie, there were moments of frustration, but the end result was totally worth it.
Here’s a quick rundown of the steps I took:
- Flashed the OpenWRT image: I downloaded the specific OpenWRT image for the Raspberry Pi 4 and flashed it onto a microSD card.
- Initial Configuration: This was the trickiest part. Since the Pi only has one Ethernet port, I had to get creative to configure the initial network settings. I ended up using a USB-to-Ethernet adapter to create a separate WAN interface.
- LuCI Web Interface: Once the initial network was configured, I could access the LuCI web interface, which is the graphical front-end for OpenWRT. From there, I could configure everything from firewall rules to wireless settings.
- Fine-tuning: I spent a good amount of time fine-tuning the settings to get everything just right. I set up QoS to prioritize my work-from-home traffic, installed an ad-blocker, and even set up a VPN client to secure my entire network.
Here’s a little taste of the power of OpenWRT. With a few simple firewall rules, you can block all incoming traffic from a specific IP address:
1
2
3
4
5
6
7
# /etc/config/firewall

config rule
    option name         'Drop-Bad-IP'
    option src          'wan'
    option src_ip       '123.45.67.89'
    option target       'DROP'
The Result: A Router That’s Truly Mine
After a few days of tinkering, I had a router that was more powerful and flexible than anything I could buy off the shelf. I had complete control over my network, and I had learned a ton in the process.
If you’re a fellow tinkerer who’s not afraid to get your hands dirty, I highly recommend giving this project a try. It’s a great way to learn about networking and build a router that’s perfectly tailored to your needs.